How To Choose A Scanner For Loose Family Prints
A practical step-by-step guide to how to choose a scanner for loose family prints, including preparation, instructions, common issues, tips, and next steps.
How To Choose A Scanner For Loose Family Prints
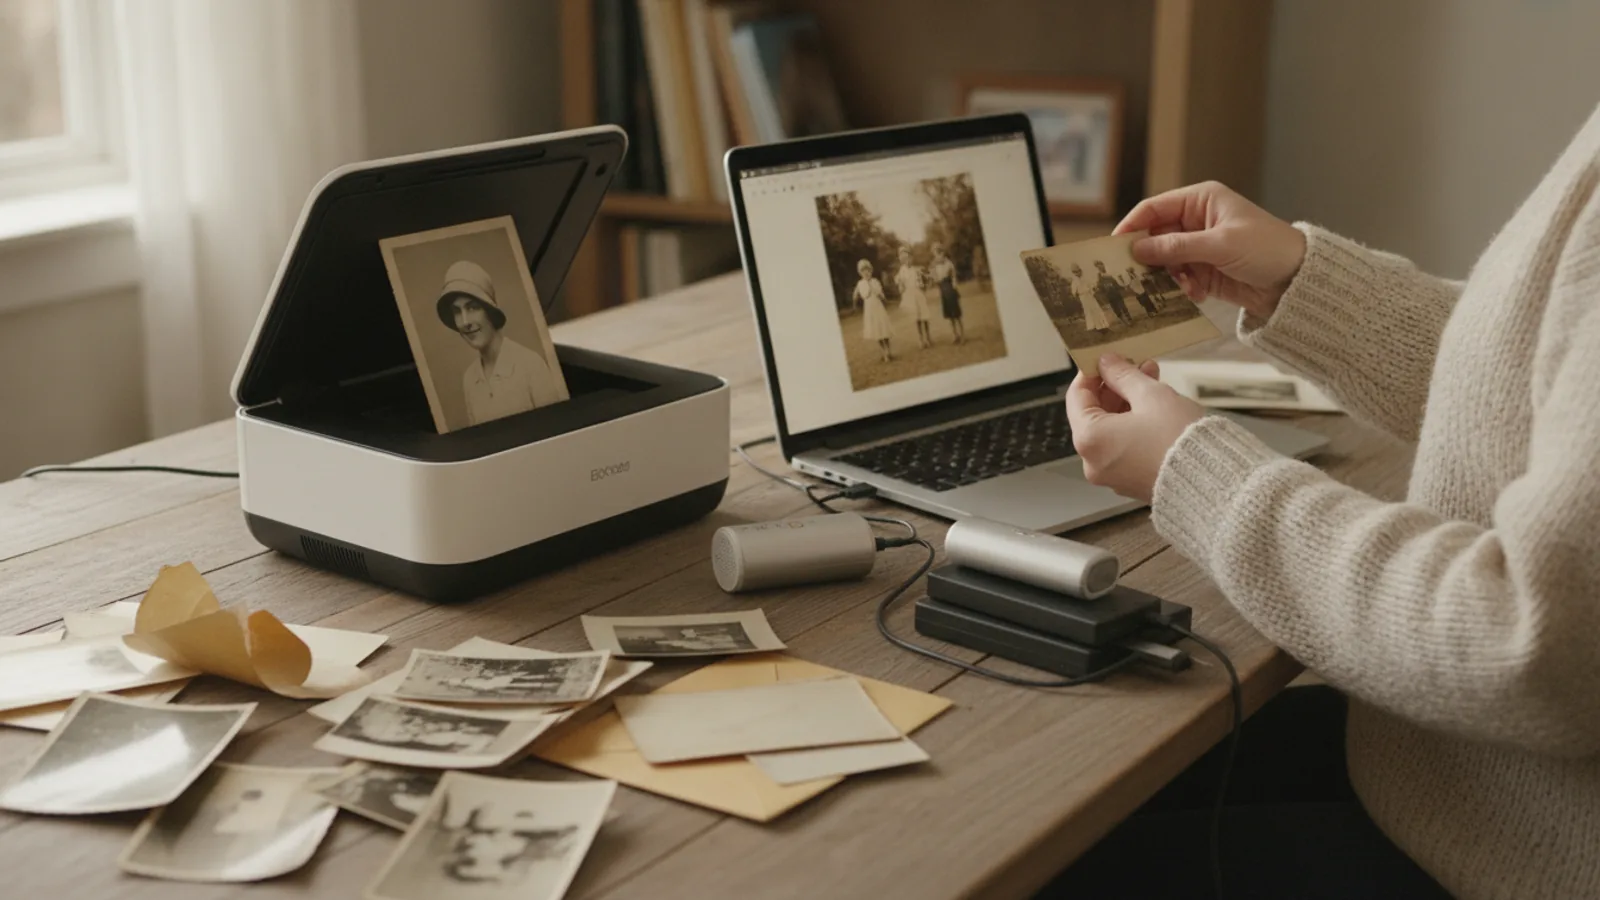
Choosing a scanner for loose family prints means matching the device to the physical size, condition, and quantity of your photos while keeping the process simple enough to finish. A calm, step-by-step approach helps you avoid frustration and preserve fragile memories with care.
Fast Answer
- Start by sorting your prints into piles by size and condition, then choose a scanner that handles the largest common size without forcing you to trim or fold anything.
- Look for a model with a flatbed for delicate originals and a document feeder only if you have many uniform prints in good shape that you are willing to risk feeding.
Before You Start
- Gather all loose prints in one place and remove them from envelopes, albums, or frames so you can see exactly what you have before making any decisions.
- Sort prints into groups by size, such as small wallet-size, standard snapshots, and larger portrait prints, because different sizes may need different handling.
- Set aside any prints that are torn, curled, stuck together, or very old, and plan to scan those individually with extra care rather than rushing them through.
- Clear a clean, dry workspace with soft lighting and lint-free cloths so you can inspect each print for dust or damage before it goes near the scanner.
Step-by-Step Instructions
Sort and measure your prints
Begin by spreading your loose prints on a clean table and grouping them by approximate size. Use a ruler to measure the most common width and height, including any white borders, because scanner specifications list a maximum flatbed area and you need to know if your largest prints fit. Write down the count in each size group and note any that are smaller than a standard snapshot, since tiny prints may need a different approach such as placing several on the glass at once. This measurement step prevents you from choosing a device that cannot handle your biggest or smallest items. A practical check is to stack one print from each size group and confirm the stack lies flat. Why this matters: if a scanner glass is too small, you will have to scan in sections and stitch images later, which adds work and can create visible seams.
Check the condition of every print
Pick up each print and look for tears, creases, curled corners, surface grime, or sticky residue. Hold it at an angle under a lamp to see dust and fingerprints that may not show in normal light. Separate any prints that are stuck together and do not pull them apart by force; instead, set them aside for a slower, manual method. For prints with loose dust, use a soft brush or lint-free cloth to gently wipe from the center outward. This condition check tells you which prints can go through an automatic feeder and which need the flatbed. A practical check is to bend a corner slightly; if it cracks or feels brittle, treat it as fragile. Why this matters: feeding a damaged print can make the damage worse and may leave debris inside the scanner that affects later scans.
Decide between flatbed and feeder
A flatbed scanner holds each print still on a glass surface, which is the safest choice for loose family prints because nothing pulls or bends the original. An automatic document feeder can move many prints quickly, but it works best only for uniform, flexible, undamaged items. Count how many prints you have and how much time you are willing to spend. If most prints are in good condition and the same size, a feeder may save effort, but you should test it with one duplicate or unimportant print first. For mixed sizes, fragile pieces, or prints with writing on the back, choose a flatbed. A practical check is to read the device documentation for the maximum thickness and size it accepts in the feeder. Why this matters: the wrong feeding method is the most common cause of creased or torn family photos.
Match resolution to your purpose
Resolution determines how much detail the scanner captures, and you do not need the same setting for every job. For viewing on a screen or sharing casually, a lower setting is usually enough and keeps files smaller. For reprinting at the same size or enlarging a favorite, choose a higher setting so the image stays sharp. Check the scanner's optical resolution rather than interpolated numbers, because optical resolution reflects the true detail the device can capture. A practical check is to scan one typical print at two different settings and compare them on your screen at full size. Why this matters: scanning everything at the highest setting creates large files that are slow to open and store, while scanning important prints too low can lose fine details like lace, hair, or small text.
Test color and dust handling
Before you commit to scanning your whole collection, run a small test batch that includes a color photo, a black-and-white photo, and one with a light background. Examine the results for color accuracy, especially skin tones, and look for dust spots or streaks. If the scanner has a dust removal or scratch reduction setting, try it on a print with minor surface marks, but be aware that such settings can soften fine detail. A practical check is to compare the scanned image side by side with the original under the same light. Why this matters: catching color shifts or dust problems early lets you adjust settings or clean the glass before you spend hours scanning the rest of the collection, saving you from redoing work later.
Plan storage and file naming
Decide before you start how you will name and organize the digital files so you can find them later without opening each one. A simple system might use a date, a short description, and a sequence number, such as a year, month, and three-digit count. Create a folder structure on your computer that mirrors your physical groups, such as by year or by side of the family. Check that your chosen scanner can save files in a common format that your devices can open, and confirm where the files will be stored. A practical check is to scan three prints, name them, and then search for one by name to make sure your system works. Why this matters: a consistent naming and folder plan turns a pile of loose scans into a collection you can actually browse, share, and back up.
Quick Reference
| Situation | Action | Why it helps |
|---|---|---|
| You have a mix of small and large prints in different conditions. | Choose a flatbed scanner with a glass area large enough for your biggest print, and plan to scan fragile items one at a time rather than using a feeder. | A flatbed keeps each original still and supported, which protects torn or curled prints, while a feeder may bend or jam them and cause further damage. |
| You have hundreds of uniform prints in good condition and limited time. | Consider a scanner with an automatic document feeder, but first test it with one unimportant duplicate to confirm it moves prints smoothly without skewing or marking them. | A feeder can speed up a large, consistent job, yet it is only safe when the prints are flexible, flat, and free of staples, tape, or sticky residue that could catch inside. |
| You are unsure what resolution to use for everyday sharing versus reprinting. | Scan a representative print at a lower setting and a higher setting, then compare them on your screen at full size to see whether the higher setting preserves details you care about. | Matching resolution to the final use avoids unnecessarily large files for casual viewing while keeping enough detail for reprints or enlargements of favorite images. |
Common Issues
- Scanned images show dust spots, streaks, or a colored line.: Clean the scanner glass and the lid with a lint-free cloth and a small amount of appropriate cleaner, then let it dry completely before scanning again. Check the print itself for loose dust and brush it gently. If a line persists in the same place, inspect the glass for a scratch or residue and follow the device manual for deeper cleaning or service.
- Prints come out crooked or with bent corners after using a feeder.: Stop using the feeder for that batch. Fan the prints, align them squarely against the guide, and load fewer than the maximum. If bending continues, switch to the flatbed for those prints. For prints that are already curled, place them flat under a heavy book for a while, but never force them straight if the paper feels brittle.
- Color in the scan looks different from the original print.: Check that the scanner is set to the correct document type, such as photo rather than text, and turn off any automatic color enhancement for a test scan. Compare under neutral daylight. If the shift remains, adjust color settings manually or use a calibration target if your device supports one. Keep a note of the settings that worked so you can repeat them.
Advanced Tips
- Scan at a higher resolution than you think you need for any print you might enlarge later, then downsize a copy for everyday sharing to keep both options open.
- Use a thin, acid-free backing sheet behind very thin or translucent prints to prevent light from bleeding through and washing out the image.
- Create a simple log with the file name, original print description, and scan date, because future family members will value that context as much as the image itself.
Final Checklist
- Confirm the scanner glass or feeder accepts the largest and smallest print sizes in your collection without trimming or folding.
- Test one fragile print, one color print, and one black-and-white print to check for damage, color accuracy, and dust spots before scanning the full set.
- Choose a file format and naming system that you can open and search on your own devices, and verify it with a three-print test batch.
- Clean the scanner glass and workspace, and store originals in a dry, flat place away from direct sunlight after scanning.
FAQ
Can I scan prints that are stuck together?
Do not pull stuck prints apart, because the emulsion can tear and leave pieces on both surfaces. Instead, set them aside and seek advice from a conservator or a reputable photo lab. In the meantime, scan any loose prints first and keep the stuck ones in a cool, dry place. If you must separate them, a professional can sometimes use gentle techniques, but doing it yourself risks permanent loss of the image.
How should I store the original prints after scanning?
Store originals flat in acid-free boxes or sleeves, away from heat, moisture, and direct sunlight. Avoid stacking heavy items on top of fragile prints, and keep them separate from any that are stuck or moldy. Label the storage with the date you scanned them and where the digital files are kept. Good storage slows further deterioration and keeps the physical copies safe for future generations.
What should I check in my scanner settings before a long session?
Check the document type, resolution, color mode, and any automatic correction features. Turn off settings that alter the image, such as sharpening or dust removal, until you have tested them on a copy. Confirm the save location and file format so you do not lose work. Run a short test with three different prints and review the results on your screen before committing to the full batch.