How To Include Handwritten Notes In A Photo Album
A practical step-by-step guide to how to include handwritten notes in a photo album, including preparation, instructions, common issues, tips, and next steps.
How To Include Handwritten Notes In A Photo Album
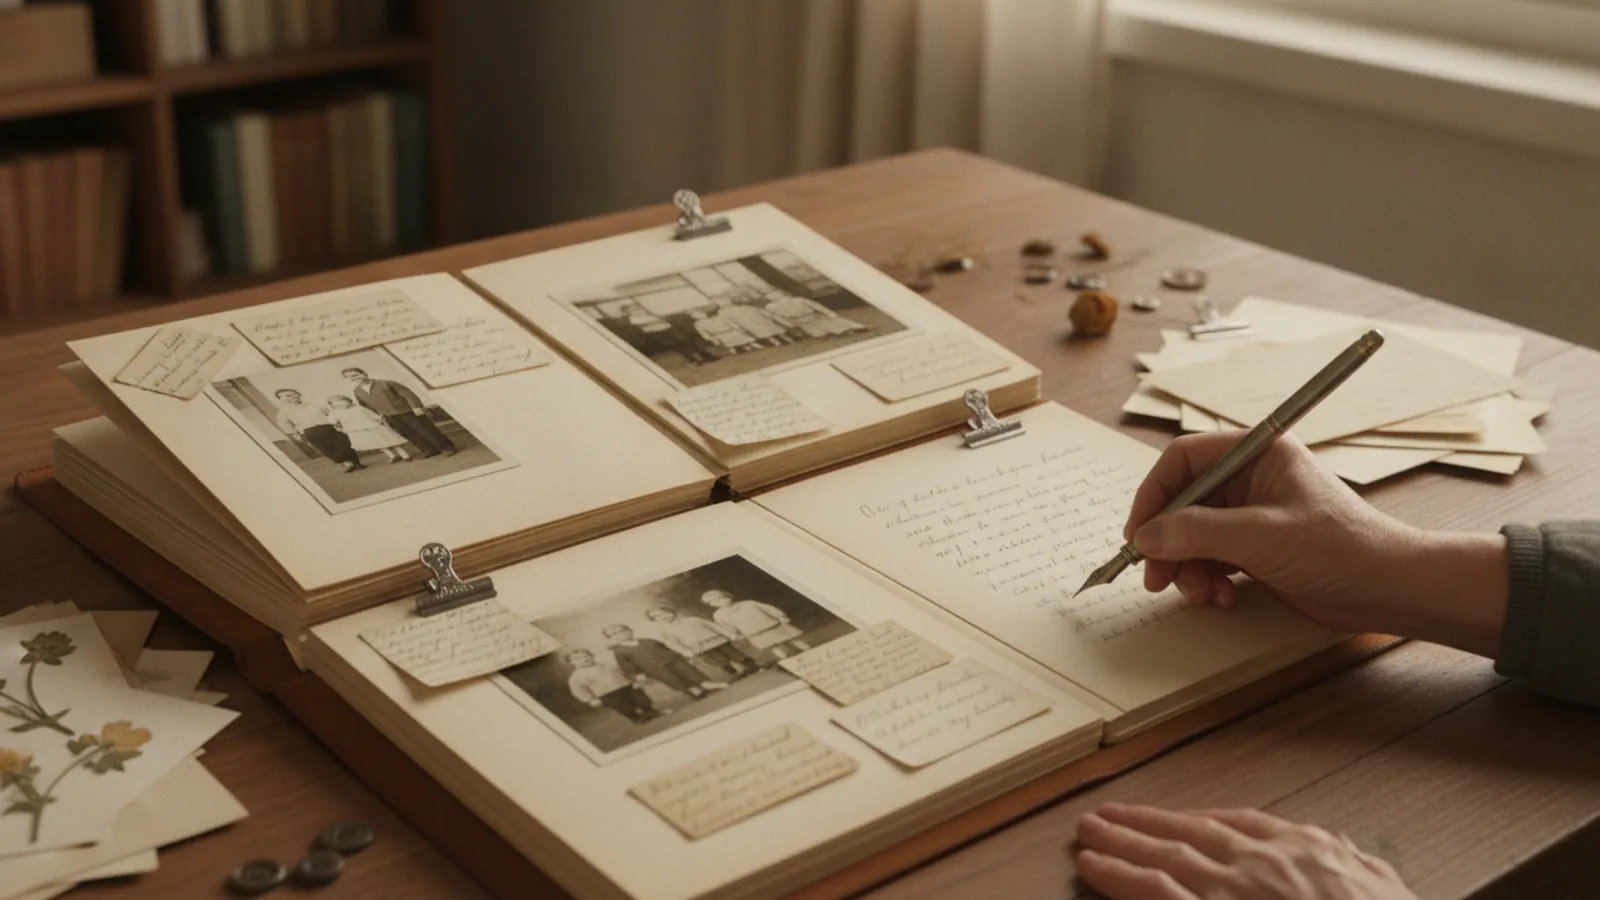
Adding handwritten notes to a photo album turns a simple collection of pictures into a personal story. This guide walks you through choosing materials, planning placement, writing clearly, and protecting your work. You will learn how to prepare pages, test pens, position notes, and handle common problems. The goal is to create an album that feels warm and authentic while keeping your photos and words safe for years to come.
Fast Answer
- Gather acid-free pens, photo-safe adhesive, and a test photo before writing directly on album pages.
- Write a draft on scrap paper, then position each note near the photo it describes and press firmly to set the ink.
Before You Start
- Choose a photo-safe pen with permanent, fade-resistant ink and test it on a scrap piece of the same album paper you plan to use.
- Clear a flat workspace with good lighting, away from food and drinks, so you can write without rushing or making accidental marks.
- Sort your photos and decide which ones will get handwritten notes, grouping them by event or theme before you start writing.
- Practice your wording on a separate sheet to check spelling, spacing, and length so the final note fits the space you have.
Step-by-Step Instructions
Choose and test your writing tools
Select a pen labeled as photo-safe, archival, or acid-free. These pens use ink that resists fading and will not harm nearby photos. Before you write on your album, test the pen on a scrap piece of the same paper or cardstock you will use. Write a few words, let the ink dry completely, then check for bleeding through the paper, smudging when you rub it, and any change in color. If the ink bleeds through or smears after drying, try a different pen. This check matters because some inks contain solvents or acids that can migrate to photos and cause stains or fading over time. A quick test on scrap paper saves you from ruining a page you have already assembled. Once you find a pen that works, keep it with your album supplies so you always use the same reliable tool.
Plan the placement of each note
Lay out the photos on the page without gluing anything down yet. Decide where each handwritten note will go, leaving enough space so the writing does not crowd the photo or get cut off by the page edge. Use a pencil to lightly mark the top and bottom of where you want the text to sit. Step back and look at the overall balance. If a note feels too long for the space, shorten the wording or move it to a larger area. This planning step matters because moving a note after the ink is dry is not possible without starting over. Also consider how the note relates to the photo. A caption placed directly below an image reads naturally, while a longer story might work better on a facing page. Checking the layout first helps you avoid a cramped or confusing design.
Write a draft before the final version
Write your note on a separate sheet of paper exactly as you plan to write it in the album. This draft lets you check spelling, grammar, and the overall length. Read it aloud to hear how it sounds. If a sentence feels awkward, rewrite it now while you can still make changes easily. Count the words and compare them to the space you marked on the page. If the draft is too long, cut unnecessary words or split the note into two shorter parts. This step matters because handwriting mistakes are hard to erase cleanly on album paper, and a rushed note can look messy. A careful draft also helps you choose the best words to tell the story behind the photo. Once the draft feels right, keep it beside you as a reference while you write the final version.
Position your hand and write steadily
Place the album page on a firm, flat surface. Rest your writing hand on a clean sheet of paper or a smooth card so your skin does not touch the page and leave oils or smudges. Hold the pen comfortably and write at a steady, unhurried pace. Follow the pencil marks you made earlier to keep your lines straight. If you feel tense, pause and relax your hand before continuing. This step matters because a shaky or rushed hand can produce uneven letters that are hard to read later. Writing steadily also helps the ink flow evenly, which reduces the chance of blobs or faint spots. For long notes, write a few lines, then stop and check your progress. Make sure the ink is drying as expected and that your lines are staying level. Adjust your position if needed before you continue.
Let the ink dry and check the result
After you finish writing, leave the page undisturbed for several minutes. Do not stack anything on top of it or close the album. Ink needs time to set, and touching it too soon can cause smudges. Check the drying time recommended for your pen, but give it extra time in humid conditions. Once the ink feels dry to a light touch, look at the note from a slight angle to check for any missed spots or uneven areas. If you find a mistake, do not try to erase it. Instead, wait until the ink is completely dry, then decide whether to cover it with a small decorative element or rewrite the note on a separate slip and attach it nearby. This check matters because a smudge discovered later is much harder to fix than one caught right away.
Attach notes and protect the finished page
If you wrote on a separate slip instead of directly on the page, attach it using photo-safe adhesive. Apply the adhesive to the back of the slip, position it carefully, and press down firmly. Avoid using tape that may yellow or lose its grip over time. For notes written directly on the page, consider placing a clear photo-safe protective sleeve or sheet over the page once everything is completely dry. This layer keeps the writing from rubbing against other pages and protects it from dust and moisture. This step matters because even archival ink can wear away with repeated friction. Before you close the album, flip through the pages to make sure nothing is sticking and that all notes are secure. Store the album in a cool, dry place away from direct sunlight to help the ink and photos last.
Quick Reference
| Situation | Action | Why it helps |
|---|---|---|
| You are unsure whether your pen is safe for photos. | Test the pen on a scrap piece of the same album paper, let it dry, then check for bleeding, smudging, and color change before using it near any photo. | Ink that is not photo-safe can release acids or solvents that stain or fade photos over time, and a simple test prevents damage. |
| Your handwritten note looks uneven or drifts downward. | Lightly draw pencil guide lines on the page before writing, then erase them after the ink is completely dry. | Guide lines keep your writing level and make the finished note look neat, and erasing after drying avoids smearing the ink. |
| You made a spelling mistake and the ink is already dry. | Do not try to erase it; instead, cover the mistake with a small photo-safe sticker or decorative shape, or rewrite the note on a separate slip and attach it nearby. | Erasing dry ink can tear the paper or leave a rough spot, while covering or replacing the note keeps the page looking clean. |
Common Issues
- The ink bleeds through the page and shows on the other side.: Switch to a finer pen or one labeled as low-bleed, and write on only one side of the page. If you must use both sides, place a photo-safe barrier sheet between the pages.
- Your handwriting looks messy because your hand is shaking.: Rest your forearm on the table and support your writing hand with your other hand. Take slow, deep breaths and write in short sessions, pausing to relax your grip on the pen.
- The note does not fit in the space you planned.: Shorten the wording by removing unnecessary words, or move the note to a larger area on the page. You can also write the note on a separate slip and attach it so it overlaps the page edge slightly.
Advanced Tips
- Use a pencil to lightly sketch a baseline and a midline before writing, then erase the guides after the ink dries completely for perfectly straight handwriting.
- Create a subtle background for your note by brushing a thin, even layer of photo-safe watercolor on the page and letting it dry fully before writing on top.
- Write your note in a contrasting color that matches the album's theme, but test the color on scrap paper first to make sure it does not bleed or fade.
Final Checklist
- Confirm that every pen and adhesive you used is labeled photo-safe, archival, or acid-free.
- Check that all handwritten notes are completely dry and free of smudges before closing the album.
- Verify that notes do not touch the surface of any photo and that guide marks have been erased.
- Store the finished album in a cool, dry place away from direct sunlight and extreme temperature changes.
FAQ
Can I write directly on the back of a photo?
It is generally safer to write on the album page or on a separate slip rather than on the back of a photo. If you must write on the back, use a photo-safe pen and test it on a similar scrap photo first. Some photo papers have coatings that react with ink, so check for bleeding or smudging after the ink dries.
What should I do if I make a mistake in my handwritten note?
Do not try to erase or scratch out the mistake, as this can damage the paper. Instead, wait for the ink to dry completely, then cover the error with a small photo-safe sticker or decorative shape. Alternatively, rewrite the entire note on a separate slip and attach it nearby to hide the original.
How long should I wait before closing the album after writing?
Wait at least several minutes, or until the ink feels completely dry to a light touch. In humid conditions, allow extra time. If you close the album too soon, the ink may transfer to the facing page. When in doubt, leave the page open and check again after a longer period before storing the album.