How To Make A Family Holiday Album With A Small Photo Selection
A practical step-by-step guide to how to make a family holiday album with a small photo selection, including preparation, instructions, common issues, tips, and next steps.
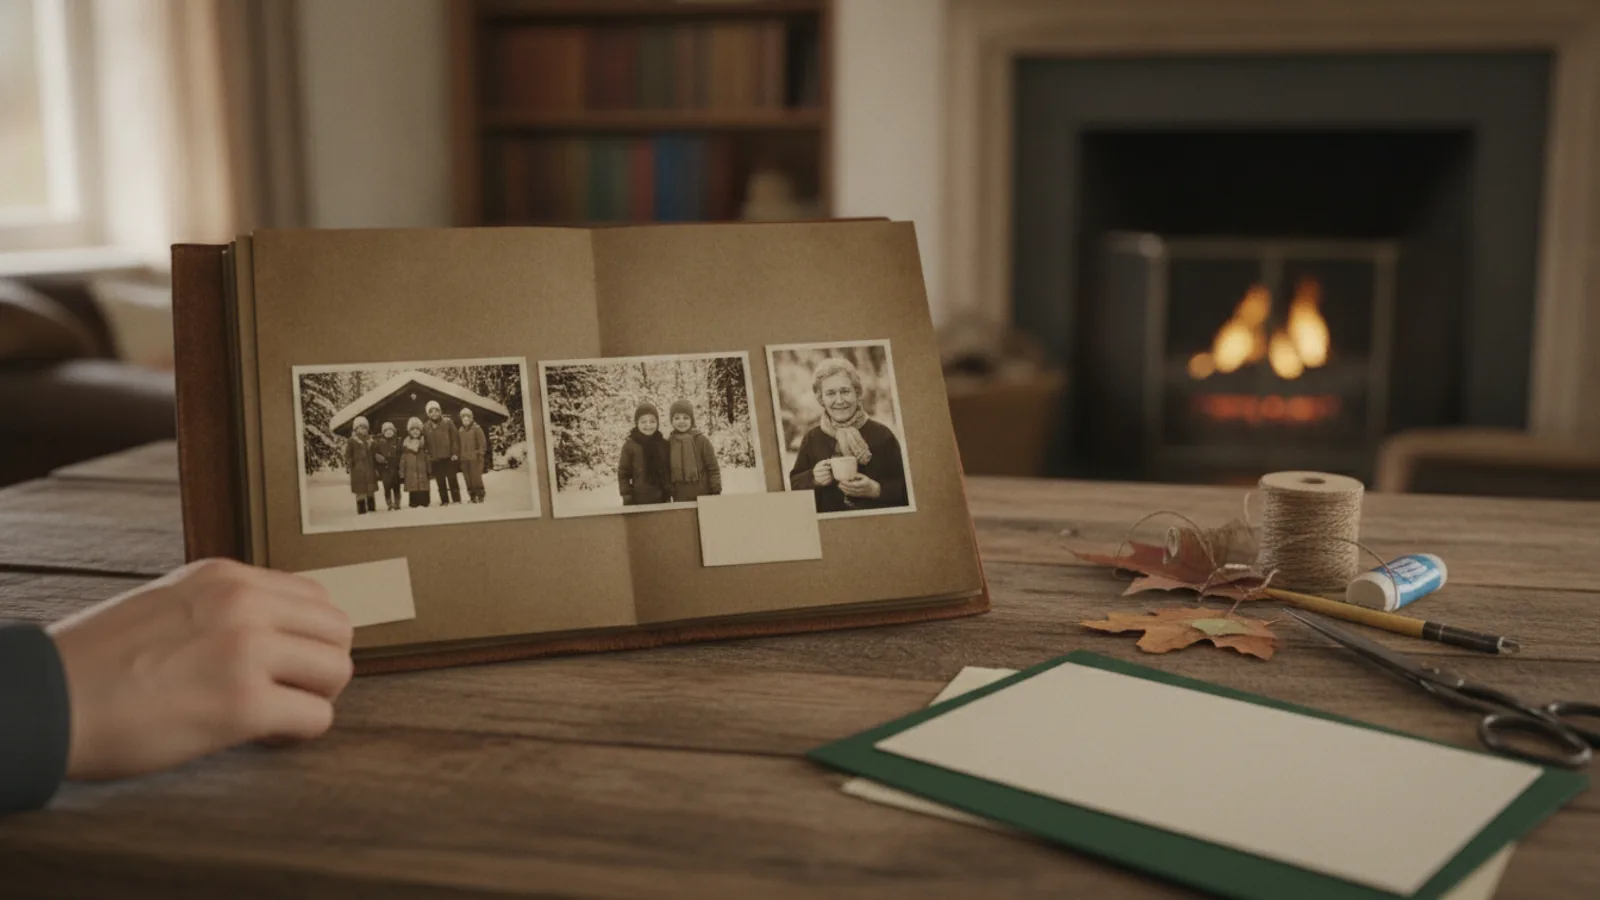
How To Make A Family Holiday Album With A Small Photo Selection
A small, well-chosen photo selection often makes a stronger family holiday album than a huge pile of near-identical shots. This guide walks you through gathering candidates, choosing a tight set, arranging pages with a calm rhythm, writing short captions, and reviewing a proof before you order or print. You will also learn how to keep the project manageable when several people want to contribute, and how to store the final files so the album can be reprinted or shared later without hunting through old devices.
Fast Answer
- Pick one clear story goal for the album, then keep only the photos that support that goal; a small set of strong images reads better than hundreds of similar ones.
- Build the album in three passes: gather and label candidates, choose the final set, then lay out pages and write captions before you order a proof copy.
Before You Start
- Create one folder for candidate photos and a separate folder for the final selection, so you never mix the two during editing.
- Ask each traveller to send their best photos in one message, with a note about who or what is in each shot if it is not obvious.
- Decide the album size, page count, and orientation before you choose photos, because a wide layout suits different crops than a tall one.
- Set a timer for each editing session and stop when it rings, which prevents the slow drift that makes album projects stall for months.
Step-by-Step Instructions
Gather every candidate photo in one place
Start by collecting all possible photos into a single candidate folder before you judge any of them. Ask each person who travelled with you to send their favourite shots, and add your own. Copy files rather than moving them, so the originals stay safe in their usual storage. Name each file with a simple date or place tag, such as the day or the town, which makes sorting faster later. Do not delete anything yet, even blurry frames, because a soft photo may still hold the only picture of a key moment. Once everything is together, count the files and write the number down. Checking that count matters because it tells you how much cutting you will need to do, and it reveals whether someone's photos are still missing before you start choosing.
Set a simple story spine for the album
Write a short list of the moments the album must include, in the order they happened. A useful spine might be leaving home, the first big arrival, a quiet day, a busy day, a funny mishap, and the journey back. Keep the list to roughly eight to twelve moments, because a small album cannot carry more without feeling crowded. For each moment, note the feeling you want the page to show, such as calm, silly, or proud. This spine becomes your filter: any photo that does not fit a moment is a candidate for removal. Order matters here, because a clear sequence helps readers follow the trip without reading every caption. Check the spine against your candidate count and estimate how many photos each moment can hold, which stops you from overloading one day and leaving another empty.
Choose the final photo set with a repeatable rule
Now reduce the candidates to a final set using one rule you apply to every photo. A workable rule is: keep a photo if it is sharp enough, shows a clear subject, and adds something the other kept photos do not. Go moment by moment through your spine, and for each one select only two to four photos. When two shots are similar, choose the one with better light or a more natural expression, then set the other aside in a rejected folder rather than deleting it. Keep a few close-up portraits and a few wide scenes so the pages vary in scale. Write the final count beside each moment. Checking that count matters because it shows whether your page plan is realistic before you spend time on layout, and it prevents a last-minute scramble when the album tool refuses extra pages.
Lay out pages with a calm rhythm
Open your album project and set a plain background with generous margins. Place photos so that each spread has one main image and one or two smaller ones, which gives the eye a clear entry point. Leave quiet space around the edges instead of filling every gap, because empty space makes the chosen photos feel deliberate rather than crowded. Group photos from the same moment on the same spread, and let the sequence follow your story spine. Check the crop on each photo, since a face or a landmark can be cut off when an image moves into a frame. Move through the whole album once at a small zoom level to see the overall pace, then again at full size to catch awkward crops. This rhythm check matters because a page that looks fine alone can feel rushed when seen next to the pages before and after it.
Write short captions that add real information
For every spread, write one short caption that names the place, the day, or the reason the moment mattered. Aim for one or two sentences, and include a detail a stranger could not guess, such as who insisted on the long walk or what made everyone laugh. Avoid repeating what the photo already shows; instead add the sound, the weather, or a small piece of dialogue. Put names in a consistent order so readers can match faces to people easily. Keep the wording plain and warm, and read each caption aloud to catch awkward phrasing. Check that every caption answers at least one of these questions: where, when, who, or why. This check matters because captions are what turn a set of images into a family story, and a page with no context can lose its meaning within a few years.
Proof the album and order with confidence
Before you order or print, generate a digital proof and review it on the largest screen you have. Read the pages in order, slowly, as if you were a visitor seeing the trip for the first time. Check spelling in captions, consistency in names, and whether any photo is repeated by accident. Confirm that the cover image and title match the story inside, and that page numbers or dates, if used, run in the right direction. Ask one other traveller to look at the proof and note anything confusing. Then check the service's current help pages for file type, page count, colour, and delivery details in your own account before you confirm the order. This final check matters because most album problems, such as a cropped cover or a missing page, are far easier and cheaper to fix before production than after.
Quick Reference
| Situation | Action | Why it helps |
|---|---|---|
| You have hundreds of similar photos from one sunny afternoon. | Choose the two or three frames with the clearest expressions and the best light, then move the rest into a separate rejected folder so they stay available but out of the layout. | A small set of distinct images holds attention better than many near-copies, and a rejected folder keeps the decision reversible if you change your mind later. |
| Several family members want their own photos included in the album. | Ask each person for a short list of their top picks with a one-line note about why each shot matters, then fit those picks into your existing story spine rather than rebuilding the album around them. | A shared shortlist respects each contributor while keeping the final selection small enough to lay out and caption within a reasonable time. |
| The album feels crowded or repetitive when you view the full proof. | Remove one photo from each of the busiest spreads and replace it with empty space or a short caption, then review the pace again from the first page. | Empty space gives the remaining photos more weight, and trimming a few images usually improves the reading rhythm more than adding new ones. |
Common Issues
- The final selection still feels too large and the layout is taking too long.: Return to your story spine and cut one photo from every moment that currently has four, keeping the sharpest image and the one that best shows place or feeling. Fewer photos per moment speeds up layout and makes each remaining image easier to see.
- Captions sound repetitive or say nothing new.: Rewrite each caption to include one fact a viewer could not guess, such as a name, a small mishap, or a reason for the stop, and delete any sentence that merely describes the picture. If a caption still feels thin, add a single quoted phrase from the day.
- The proof shows a cropped face or an unclear page order.: Open each spread at full size, adjust the crop so faces and landmarks have breathing room, and reorder pages to follow your story spine. Then view the whole proof once more at a small zoom to confirm the sequence reads smoothly from start to finish.
Advanced Tips
- Make a low-resolution contact sheet of your chosen photos and print it, because seeing the set on paper often reveals duplicates and weak spots that a screen hides.
- Keep a one-page text file listing the final photo names, captions, and page numbers, so you can rebuild or reorder the album later without reopening every image.
- Choose a cover photo that shows a quiet, recognisable moment rather than the most dramatic shot, because a calm cover tends to age well and invites people to open the album.
Final Checklist
- The story spine lists eight to twelve moments in order, and every moment has two to four chosen photos.
- All captions name a place, time, person, or reason, and you have read them aloud once for phrasing.
- The full proof has been viewed at small zoom for pace and at full size for crops and spelling.
- The final proof file and the selected photos are saved together in your main backup for future reprints.
FAQ
How many photos should a small family holiday album contain?
A practical range is roughly twenty to forty photos across the whole album, depending on page count and layout size. The exact number matters less than the balance: every moment in your story spine should have at least two photos, and no moment should take over the album. Start with your spine, assign two to four photos per moment, and let that total guide the page count rather than filling pages first and cutting later.
What should I do with photos that do not make the final cut?
Keep them in a clearly named rejected or extras folder inside your main photo backup rather than deleting them. They cost nothing to store, they let you change your mind during proofing, and they are useful if you later make a second album about the same trip. If you want to share them, send the folder to family members separately from the finished album so the album itself stays focused.
When is the right time to order the album?
Order only after you have reviewed a full digital proof in page order, confirmed the captions, and checked the service's current file and page requirements in your own account. Ask one other traveller to read the proof first, because a second reader often catches a missing day or a repeated photo. Once those checks pass, ordering is a calm final step rather than a rushed one.